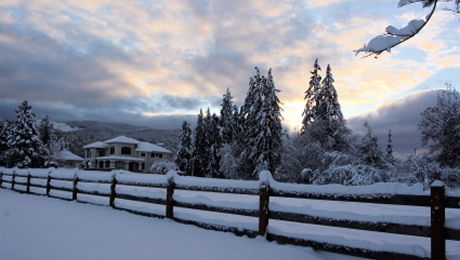
Tips for Preparing Your Home for Winter

Not to be the harbinger of grim news…but, the first day of winter (December 21st), will be here before we know it. Remember last year’s brutal weather? The Polar Vortex and its ice storms, blizzards, high winds and heavy rains? Right now is the time to get your home ready for the wear and tear that winter may bring. Doing a little pre-season preventive maintenance can save a homeowner a bundle on everything from utility bills to big ticket home repairs. Sometimes just having a few suggestions is all it takes to get the ball rolling:
Get an Inspection
You may want to spend a little money in order to save a small fortune in the long run, which is why beginning your winter checklist with a call to a reliable, professional home inspector is a good place to start. Home inspectors are trained to spot issues and can guide you through the process of how any problems should be handled.
Check the Roof
Either hire a roofing contractor, or check the roof and attic yourself for missing shingles, cracks, and leaks. Don’t forget to have a look at the flashing around the chimney and vent stacks as well. Take care of needed repairs before winter precipitation complicates matters.
Clean the Gutters
Clean out your gutters and check your home’s drainage system. Otherwise, water may not drain properly and compromise structural components such as the roof and foundation. Water should be directed at least three to four feet from a home’s foundation. If yours is too close to your home’s foundation, there are inexpensive downspout extenders that are easy to attach to the existing ones.
Address Drainage Issues
If sewer, excessive groundwater or storm water problems are detected, use a sump pump or have what’s known as backflow valves and standpipes installed. Do this at all basement drain locations, including sinks and toilets. French drains are another popular solution for these types of concerns.
Inspect Heating Systems
Before your home’s heating systems go into major use, do a thorough inspection. That will mean changing filters and having a professional evaluation by an HVAC or furnace technician. Have the insulation checked out as well! If you use wood burning heat sources, like a fireplace or woodstove, they should be cleaned and examined for signs of soot buildup, wear and tear. This is also the time of year to call in a chimney sweep if you plan to use your fireplace this season.
Check Windows & Doors for Air Leaks
Before the north wind doth blow…check the air tightness of your property’s doors and windows. Ensure the integrity of seals and caulk, then if needed, replace with weather stripping or new caulk. The old lit candle trick is fool-proof-if the flame flickers when held in front of door and window seams on the inside, then ‘Houston, we have a problem”. Another good rule of thumb is if the gap between the caulking and the frame is wider than the thickness of a nickel, then it’s time to apply new caulk. If it’s in the budget, nothing beats installing a few new EnergyStar rated doors and windows. Remember, this can be an ongoing project and completed in phases.
Avoid Frozen Pipes/Hoses
Because water freezes and expands, make sure to drain garden hoses and irrigation systems before the thermometer drops. Also be sure to wrap your home’s pipes with insulating material if you’re in an area that is prone to freezing weather conditions. You can also avoid the catastrophe of frozen or burst pipes by leaving the cabinet doors open to allow the home’s heat to circulate. You can get more helpful tips on preventing and thawing frozen pipes from the Red Cross.
Prep the Lawnmower for Hibernation
Protect your lawn mower for its long winter’s nap by emptying the tank or adding a stabilizer to the fuel so it will last longer. Otherwise, the leftover fuel can damage the carburetor. Another solution is to only use ethanol-free gas.
Stock up on Supplies
If you live in an area prone to snow and ice, go ahead and stock up on products that provide traction or accelerate the melting process. Now is also the time to service your snow blower, well before you’ll need it.
Switch Your Fan’s Direction
This tip is from the folks at EnergyStar: If your ceiling fan has a reverse switch, use it to create an updraft. The fan blades will move in a clockwise direction and push the heat that rises down to keep rooms toastier!